
 |
| My DIY free motion quilting tool. |
Although, I could not find something for sale retail, I did find a home-made device on a blog post at Mary's Quilting Notes. Mary even has a short video for her device on YouTube.
This is exactly the type of device I was looking for. Something to hold a pen steady while you move a practice sheet underneath. I went straight to the plumbing/pipes aisle at Home Depot and picked up the pieces I needed. I didn't want to do any measuring, cutting or filing, so mine is just slightly different than Mary's - but even easier too. 😉 Can't remember exact cost, but it isn't much. Think the total was less than $10. No special tools required except your sewing machine's screwdriver to open and close the clamps.
 |
| Parts for the quilting tool. |
 |
| Pen-holder parts |
SUPPLIES NEEDED:
- 1 inch x 2 ft PVC pipe
- (2) 1 inch 90-degree PVC elbow
- (2) 1 inch PVC Tee
- (2) 3/4 inch PVC coupling
- hose clamp to fit a 1" PVC pipe
- hose clamp to fit hose adapter
- 3/4" hose connector (blue piece in photo above)
- a 3-ring binder with clear plastic insertable-cover (I used an old one I had on-hand)
- dry-erase marker
- rubberbands
DIRECTIONS:
The parts fit together easily. No cutting or filing necessary. Only tool needed is a flat head screwdriver for the hose clamps.
- Slide the larger hose clamp onto the 1" PVC pipe.
- Open the smaller hose clamp and loop it through the larger hose clamp.

Center clamp on the pipe.
- Insert the hose connector into the small hose clamp. Use a screwdriver to tighten clamps over the center of the pipe.

Pen-holder assembly.


- Fit each 3/4" coupling into the top of a Tee

Bottom pieces of device
- Fit this piece into each elbow piece. May have to push a little bit for a snug fit.

- Fit these end pieces into the 2-foot PVC pipe.

The end of the device.
- Cut the spine from the binder. You should have two flat clear plastic-covered panels to use as work boards.
- Place a work board under the quilting tool.
- Wrap a rubber band (or two) around the end of a dry-erase marker and drop it into the pen holder.

Rubber band-covered marker.
- Drop the marker into the pen holder and push down until it reaches the work board.


- You're done!


Move the board to Practice Away! The dry-erase marker easily wipes off with a tissue to practice again.

Put a copy of your favorite quilting design under the clear cover and practice tracing as well.
 |
| Tracing a quilting practice sheet. Just wipe off the cover and do it again. |
A short little demonstration video:
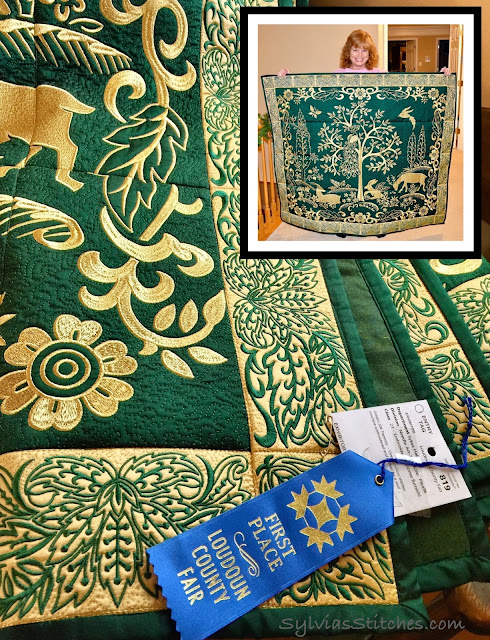
I am sharing this post on FreeMotion Linky Tuesday, Fiber Tuesday, Kathy's Quilts Slow Sunday Stitching, Show Off Saturday, and What a Hoot Quilts!.
Happy Stitching!


That is a great idea!
ReplyDeleteThanks, Loris. Easy to make and great to practice with. 😃
DeleteThat is a great idea. I have also had students practice with a large sheet of paper and an unthreaded sewing machine... might wreck the needle, but at least it allows the practice of combining movement with sewing speed.
ReplyDeleteMy machine keeps stopping saying no thread. Is there a trick?
DeleteVery cool! I don't have a freemotion machine - but I find this DYI very neat, regardless!
ReplyDeleteGreat Idea!! FYI I use white boards allot. Rubbing Alcohol works great to clean them up if your dry erase board looses it luster. Brings it back to new again! I need to head to the hardware store thanks for the idea!
ReplyDeleteWhat a great idea! You could market this!!!
ReplyDeleteClever idea! Thanks for sharing.
ReplyDeleteOK, now *that* is a great contraption. I really could have used that when I started out with FMQ!
ReplyDeleteGreat idea Sylvia and thanks for sharing!
ReplyDeleteI was so very happy to see this idea--including all the directions. I have had a time working with my sit down long arm, and was feeling kind of discouraged. I know that this is really going to help me. It is a super idea. Thank you so much for sharing this. Lesta
ReplyDeleteGreat idea! Thank you for sharing it!
ReplyDelete