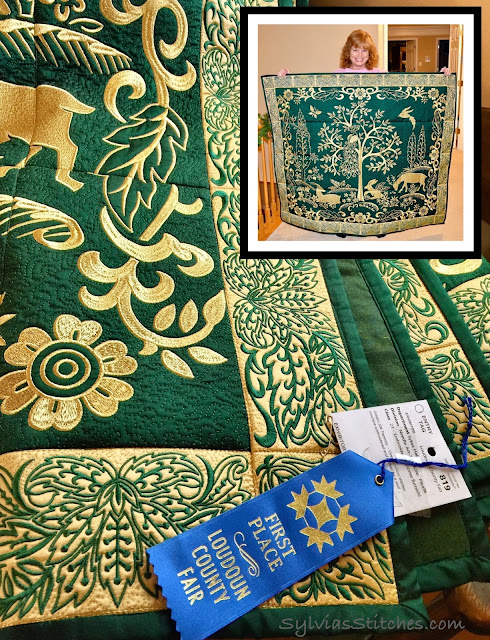
The embroidery design for this pillow came from Stitch Delight. It is design #SDS1255 Poppies for Mother. This design set includes the wording together, as well as separately. Along with poppies and background quilting stitching. This makes the design very customizable. The design I liked was larger than my largest hoop, so I used my Designer's Gallery Embroidery Works software to size it to fit the hoop.
I watched and followed the YouTube video by Cara Sorella on how to make a Pocket "Book" Pillow. It is pretty simple to do. Here is how I did it:
Notes:
- The pillow case I made is 14" x 14" finished.
- I used a 15" x 15" square pillow insert.
- I used 0.5" seams.
Materials:
- Cream fabric for front of pocket. I cut a large piece to hoop inside embroidery frame. Trimmed it to 9" x 15" when finished embroidering.
- Contrast fabric for the pocket band and lining of pocket panel, 10"x 15".
- Contrast fabric for edge binding on back of pillow panel, 2" x 15"
- Compliment fabric for pillow front and back.
- Cut the front fabric piece 15" x 15".
- Cut two pieces of the back fabric at 12"L x 15"W each.
My fabric choices:
Instructions:
- Embroider the design on you pocket panel.
I used no-show mesh stabilizer, along with regular cotton batting under the fabric.
- Trim the pocket panel to have 1/2" margins on all sides. Mine came to about 9" high x 15" across.
- Sew the pocket panel and the band contrasting fabric (right sides together) along the top of the pillow using 1/2" seams. Should just stitch over the top line of the embroidery design.
- Fold the band fabric up and over towards the back of the pocket panel.
- Stitch in the ditch on the front of the pocket panel to anchor the band down to the fabric.
- Align and embroider the quilting design on the Front Fabric piece of fabric. I used no-show mesh and regular batting again in this step.
 |
| Quilting design stitching |
- Pin then sew the pocket panel to the bottom of the front fabric piece, lining up the raw edges..
- Fold over of the long edges of the back panel piece about 3". Stitch down to secure. Iron.
- Fold over the long edge of the other back panel pice abut 1/4" inch. Fold this over again. Iron.
- Make a binding strip: Fold the contrast fabric (that is to be used for the binding on the back), in half lengthwise. Iron. Open the fabric piece and now fold in each long side so that they meet in the middle at the crease. Fold over and iron. Your strip should now be about 0.5" x 15". Place the double-folded edge of the back billow piece inside this binding strip. Stitch this down.
 |
| Example of the binding sewn to the fabric panel. |
- Lay the front of the pillow down on a table, facing up.
- Lay the back fabric piece (with the contrast binding) face down on top of the pillow. The finished edge should be towards the bottom of the pillow. Line up the raw edges on the left, top, and right sides.
- If you have a label to attach to the pillow, add it now. Lay it along an edge, with the tag facing in towards the center of the pillow, and raw edge facing to the outside edges. Tape in place to hold if necessary.
- Lay the back fabric piece (with the contrast binding) face down on top of the pillow. The finished edge should be towards the bottom of the pillow. Line up the raw edges on the left, top, and right sides.
- Lay the other back fabric piece on top of this. Face down. The finished edge should be towards the top of the pillow. Line up raw edges on left, bottom and right sides.
- Pin all around.
- Sew the pillow around the raw edges using a 5" margin. Follow the stitching lines in the embroidery for a perfect finish.
- Clip the corners and turn the pillow right-side out. (May take two turns).
- Add your pillow insert and you are done!
Both Mom, and my Mom-in-law loved their pillows.
I'm sharing this with Freemotion by the River, Too Cute Tuesday, and Fiber Tuesday.
I'm sharing this with Freemotion by the River, Too Cute Tuesday, and Fiber Tuesday.
Happy Stitching!


Such pretty pillows. Love the quilting on them, too.
ReplyDeleteBeautiful pillows!
ReplyDelete