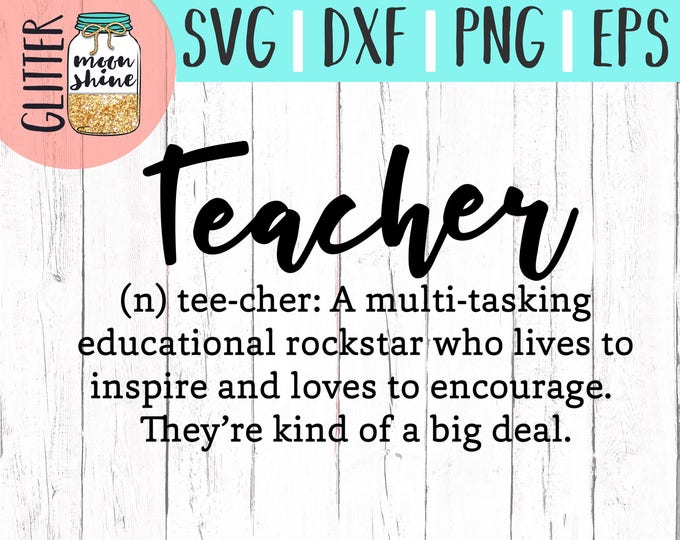
I wanted to share how easy (and free!) it is to create monogram designs that you can cut on your ScanNCut and show you how my daughter used the ScanNCut to create her Teacher Appreciation gifts.
 |
| Teacher gifts made by my 5th grader. |
My youngest has a bit of craftiness to her! She wanted to make her own gifts for her teacher this year after seeing the garden flags I made using the ScanNCut recently. We decided on a tee shirt and a tote bag.
One of her teacher's favorite colors is burnt-orange, as in fall season orange. Off to our local Michael's, where we found just what we needed, along with some Siser Heat Transfer Vinyl in white and black.
 |
| Our finds at Michael's. |
We did the tote bag together. We created the circle monogram for FREE.
CREATE FREE MONOGRAMS FOR YOUR SCAN-N-CUT!
Here is how to create a monogram design on your iPhone:
- Use the Monogram It app on my iPhone. This app is great for creating monograms and names in script fonts. There is also free version: Monogram It Lite.
- Type in the teacher's initials.
Easy Peasy. Save to camera roll.
- Still on your phone, open Canvas Workspace in a web browser. Login.
- Select "Choose File" and select your saved monogram from your phone's camera roll. The image will preview.
- Lightly select the red frame around the image to move it closer to the letters.
- Select OK. Select Yes to Confirm the paste.
- Use your finger to select all entire design (touch above the design and drag to select all the shapes).
- Select the Menu Bar, then Edit, then Flip (vertical) to reverse the letter to cut on heat-transfer-vinyl.
Your design is done. Select to drag and drop to desired size.
Just like how the garden flags were done, use the ScanNCut to transfer the design to the machine, cut, peel and iron.
My daughter did the Tee-shirt herself.
- Similar to how we imported the monogram above, she create a new project and imported the teacher design file.
- She reversed the image in the workspace..
- She sent to the machine and watched it cut.
 |
| Watching her design cut. |
 |
| Weeding the design. |
We love how the Siser Easy Weed iron on material is so soft and is not stiff on the shirt.
Happy Stitching!


No comments
Thank you so much stopping by and adding your thoughts. I read and appreciate each comment. ♡♡♡
Note: Only a member of this blog may post a comment.